Learn how to make a mini rainbow quilt wall hanging. Use our mini wall hanging pattern and follow our step-by-step tutorial to make cute new wall art for your home.
If you’re looking for a small quilting project that can be made in an afternoon, this is it!
I have a confession to make. I am obsessed with rainbows. I like them on bedding, on prints, I love our Ikea rainbow doormat. They just make me happy.
So although I am not an experienced quilter at all, I thought I’d ignore my fear of sewing curves and make a rainbow mini quilt. I’ve sewn a sleeve or two back when I sewed garments, and that gave me the courage to go ahead and make this, too.
I made sure there is only a limited number of curves involved, so I think this would be a great beginner curve-sewing project if you’re looking to dive into curves yourself.

We’ve also done the hard work of calculating everything for you, so you can simply download the Mini Rainbow Wall Hanging template, grab some fabric scraps, and make a rainbow for your home!
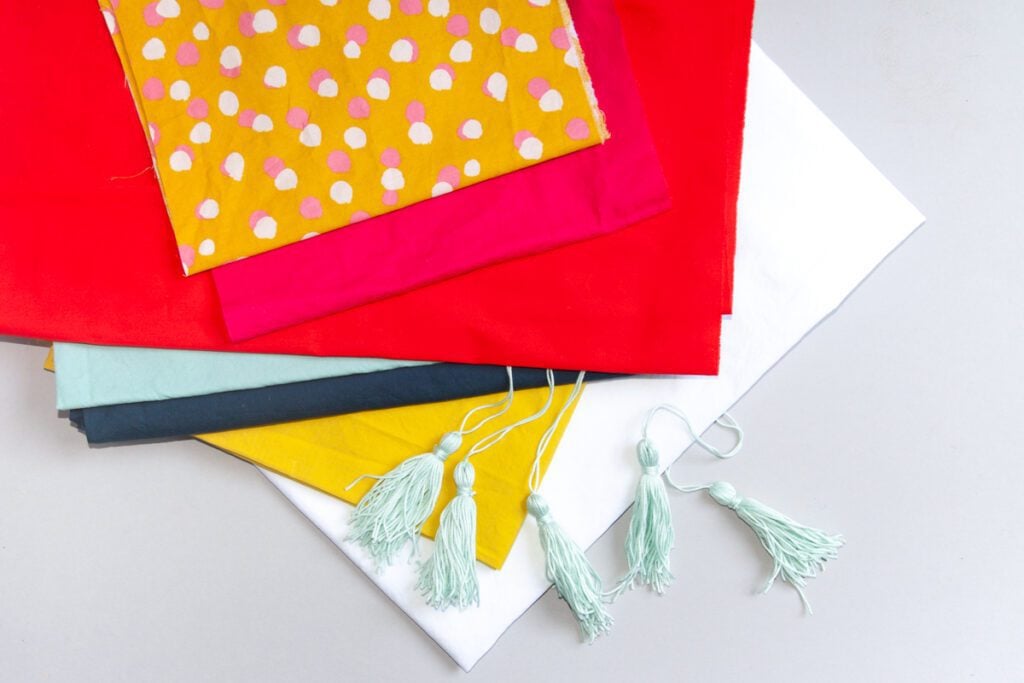
Rainbow Quilt Wall Hanging Materials
To make your mini rainbow quilt start by downloading the Rainbow Wall Hanging template. Print the templates at 100% (constrain proportions) and measure the 1-inch test square to make sure the templates are printed correctly.
You will also need:
| Colorful fabric scraps | 6 pieces | 6.5×8.5” (this is the size of the largest arc) |
| Background fabric (in our case white) | 2 1 | 7.5×9.5” 14.5×9.5” |
| Backing (in our case white) | 1 | 17×20” |
| Batting | 1 | 17×20” |
| Binding | 1 | 2×76” |
| Fabric for triangle corners | 2 | 4.5×4.5″ |
| Tassels | 5 pieces |
You can buy tassels in most sewing supply stores. You can also make them yourself (which is what we did) using yarn and following this tutorial by Treasurie.
We assume you already have your basic quilting kit. If not, I recommend you read our list of Quilting Supplies for Beginners.
How to make the Mini Quilt Wall Hanging
The steps involved in making a mini quilt wall hanging are pretty much the same as in making a full-size quilt blanket. We’ll start by making the quilt top.
Step 1: Cut out the rainbow arcs
Cut the printed templates along the solid lines. Be as accurate as possible.
Now cut the templates from your chosen fabrics. You will have to cut out each piece twice – once with the printed templates facing up and once with the print facing down (this way you will get a mirror image of the template for the second half of the rainbow).

Place the templates on your chosen fabric scraps. I found it easiest to first cut out the rectangle around the arc. Using a pencil, I then transferred the edges of the template onto the fabric. I also transferred the arc marks (they are very helpful when assembling the pieces!).
Cut out 6 arc pieces and two background pieces (the largest template), so you have 8 pieces total.
Step 2: Assemble the rainbow
We will assemble each half of the rainbow individually and then sew them together to get the whole arc.


When pining two pieces together, make sure you align the edges of both pieces. Also, use the arc marks to align the pieces correctly. See the picture above to get an idea of how the pieces should look when they’re pinned together.
When sewing the curves, make sure you go slow and steady. Also, make sure the bottom piece of fabric doesn’t crease as you move it along.

Using this same technique, assemble both halves of the rainbow.
Assemble the two halves and sew them together.
Step 3: Finish the quilt top
All there’s left to do now is to attach the 7.5×9.5” background piece to the top of your rainbow. Your quilt top is finished! Yaaay!
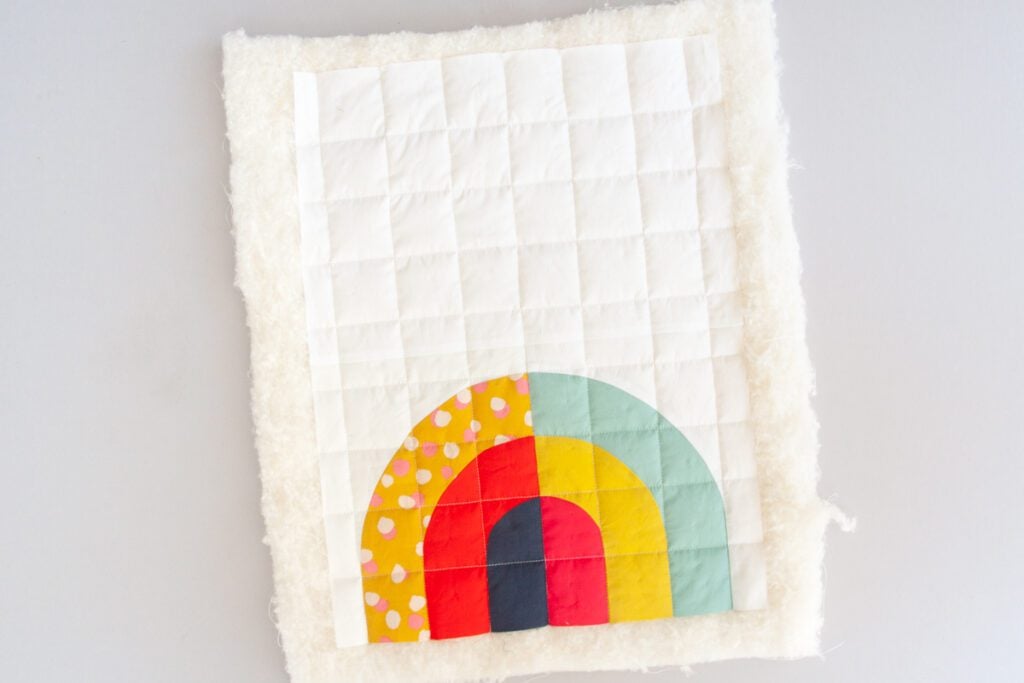
Step 4: Make the quilt sandwich and quilt the top
Using your preferred method, baste the quilt and quilt your top. I decided to do a simple grid.
Step 5: Attach the triangle corners
As this is a wall hanging, you have to plan ahead to make sure you can actually hang the quilt once it’s done.
For a small quilt like this one, triangle corners attached to the back side of the quilt work well.

Step 6: Add binding and tassels
Sew the binding strip to the front of the quilt using your sewing machine.
Turn the quilt over and hand stitch the tassels to the bottom border of the quilt. You want to lay them ‘upside down’ at this point, so they’ll be nicely tucked into the binding.
Hand sew the binding on the back side.

You are all done! You just need to find a wooden stick to slip into the triangle corners and hang your new wall art. You can either hang the stick onto a hook or nail directly, or tie a ribbon onto it, like I did.


How pretty is that?
Further Reading
Finish a Quilt in 3 steps
If you’re new to quilting and you’re overwhelmed with how to make a quilt from start to finish, here are the 3 basic steps to finish your quilt with links to useful tutorials:
Comprehensive beginner-friendly tutorial: How to Baste a Quilt >
You might also like:
How to choose backing for a quilt >
How to plan and calculate quilt backing >
The magic diagonal quilt backing >
20+ modern pieced quilt backing ideas >
How to choose quilt batting >
Comprehensive beginner-friendly machine quilting tutorial: Machine Quilting for Beginners >
You might also like:
Inspiring Straight Line Quilting Designs >
The Ultimate Stitch in the Ditch Tutorial >
Comprehensive beginner-friendly machine binding tutorial: The Ultimate Machine Binding Tutorial >
You might also like:
How to get perfect quilt binding corners >
Stitch in the Ditch Quilt Binding (Looks Hand-Sewn) >
How to fix wavy binding >

Finish Your Quilt Effortlessly
Quilt Geek calculates every measurement you need, so your quilt turns out perfect every time.
START YOUR 7-DAY TRIAL FOR $0!
Cancel anytime.


About The Author
Ula | Designed to Quilt